
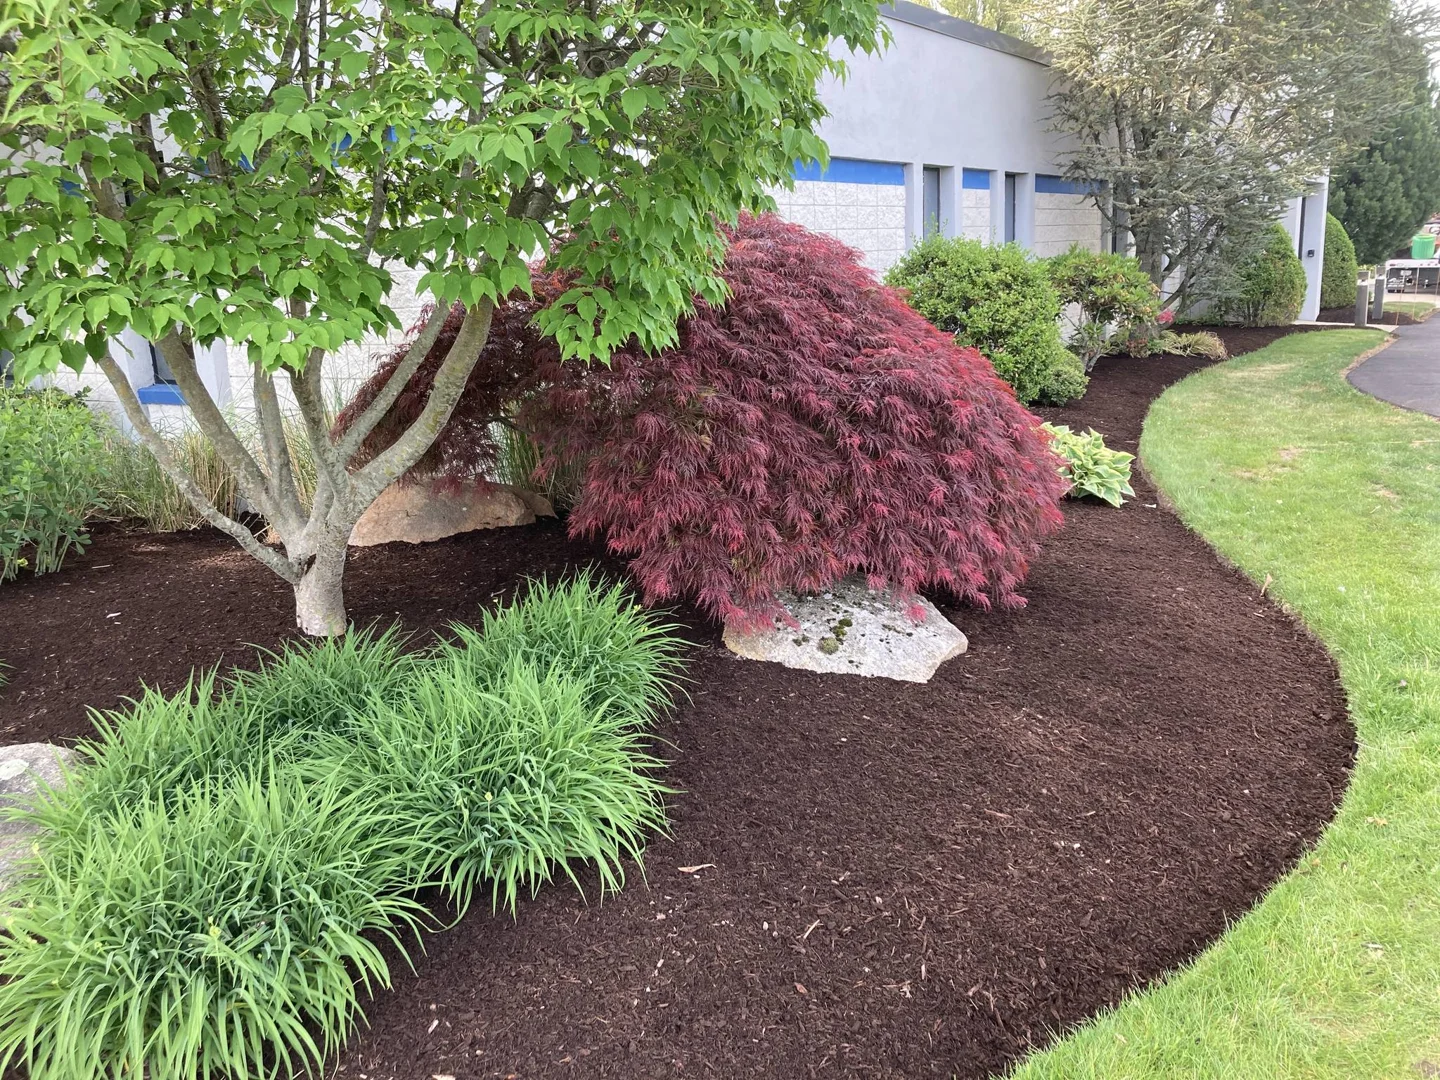
What Is Mulch Installation — and Do You Need a Pro?
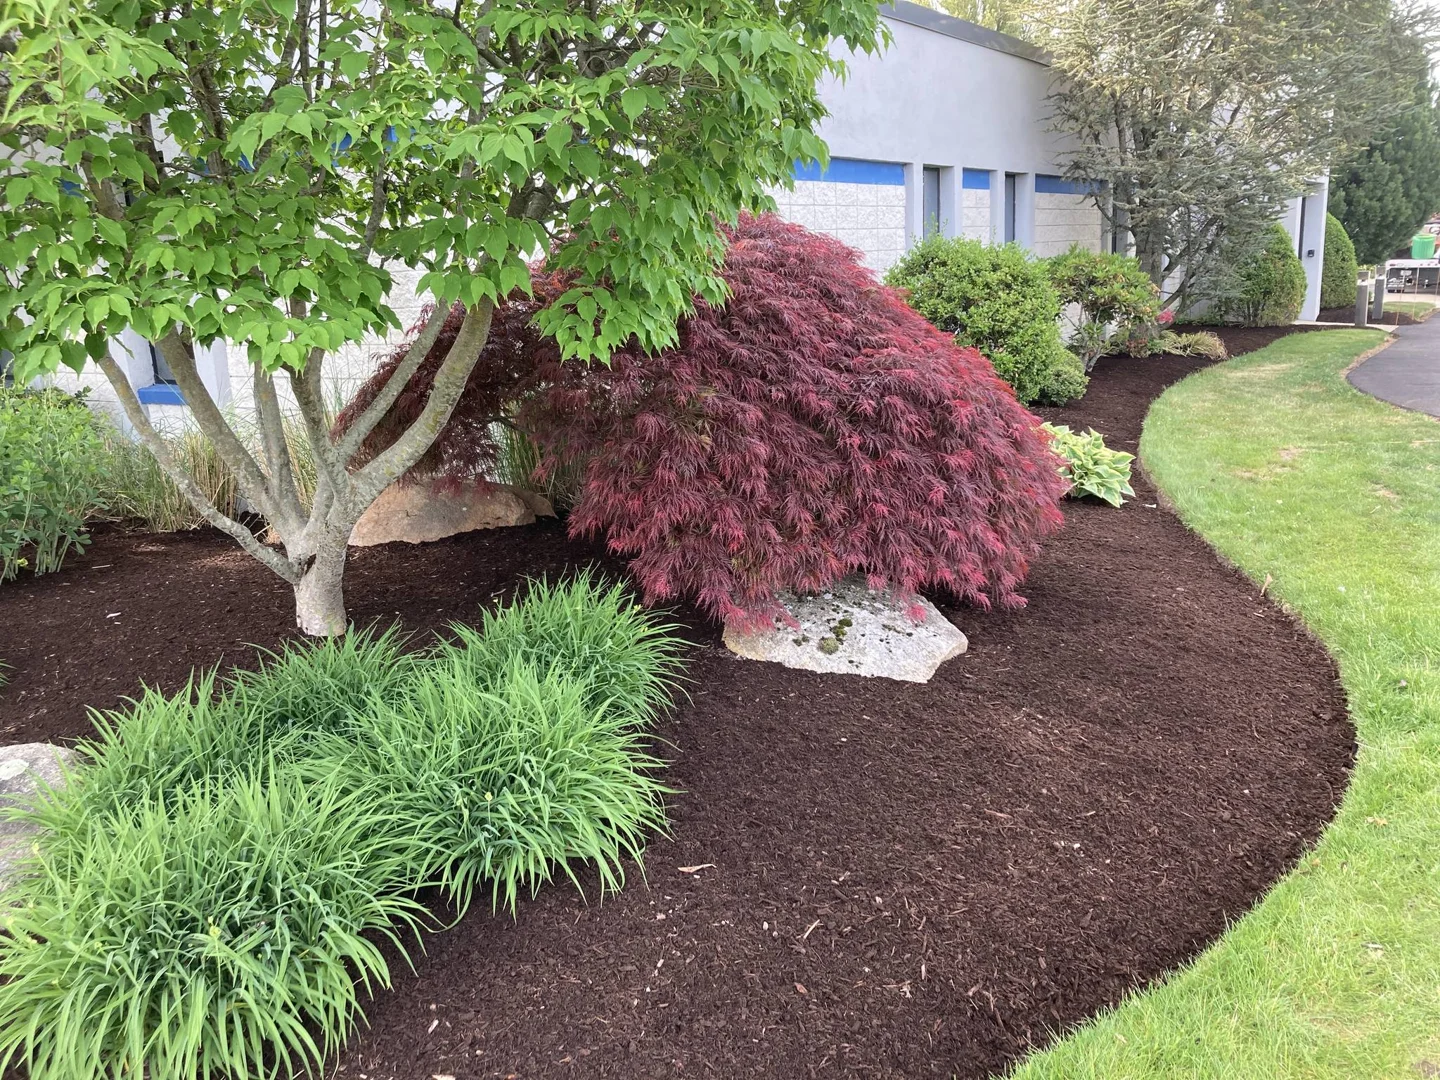
Mulch installation is the process of spreading a protective layer of organic or inorganic material over your garden beds and around trees and shrubs. Done right, it’s one of the most effective things you can do for your landscape.
Here’s what professional mulch installation typically involves:
- Clearing weeds, debris, and old compacted mulch from garden beds
- Edging beds for clean, defined borders
- Spreading fresh mulch evenly at 2 to 3 inches deep
- Keeping mulch away from plant stems and tree trunks
- Lightly watering to help the mulch settle
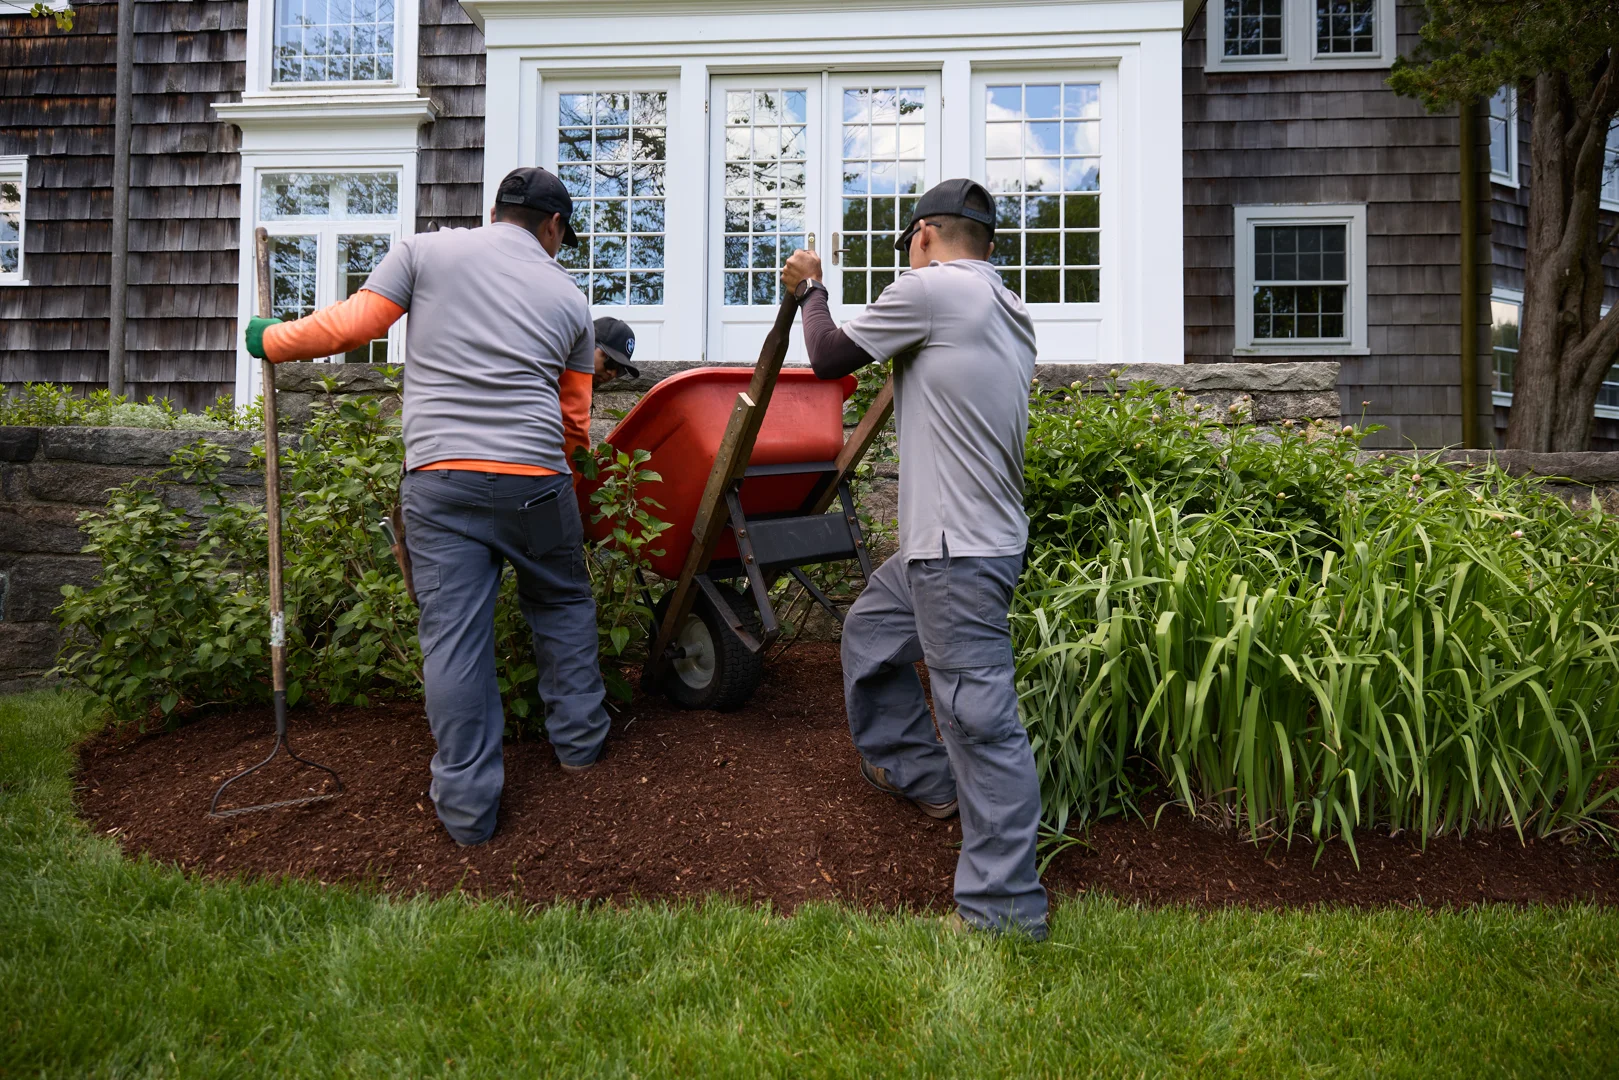
For busy Rhode Island property owners, hiring a professional mulch installer — like the team at Lawnscapes — means skipping the wheelbarrow, the sore back, and the guesswork. You get a clean, finished landscape without giving up your weekend.
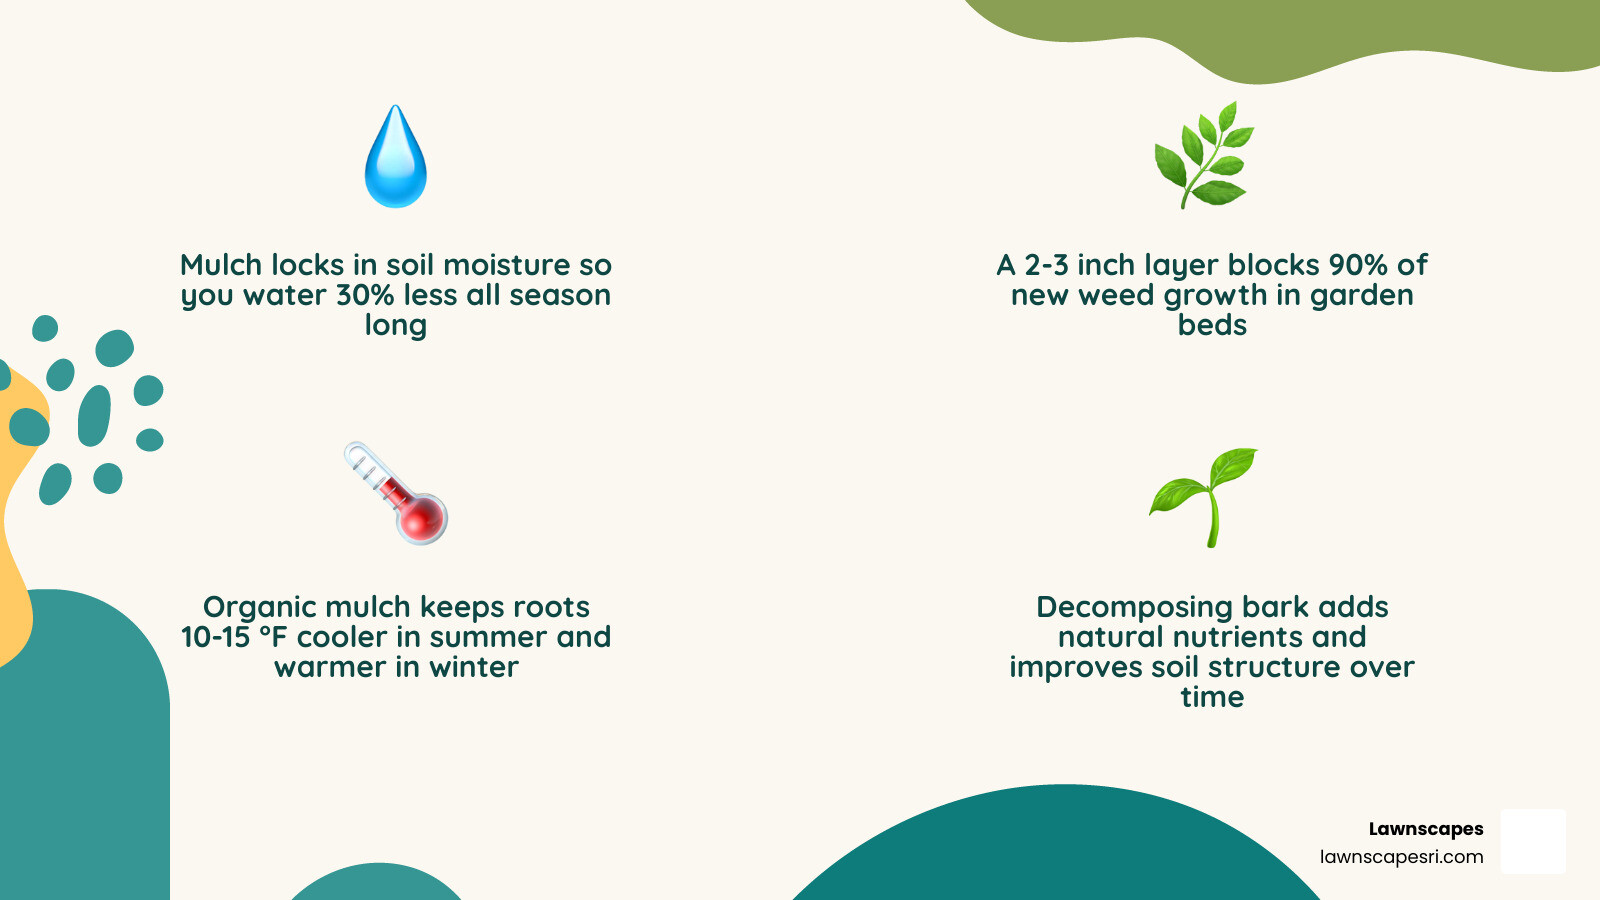
Mulch does a lot more than make your yard look good. It retains soil moisture, suppresses weeds, regulates root temperature, and — when organic materials break down — actually feeds your soil over time. But those benefits only show up when mulch is installed correctly, at the right depth, with the right materials.
This guide covers everything you need to know: methods, costs, step-by-step best practices, and the mistakes that can undo all your hard work.
Why Professional Mulch Installation Matters for Your Landscape
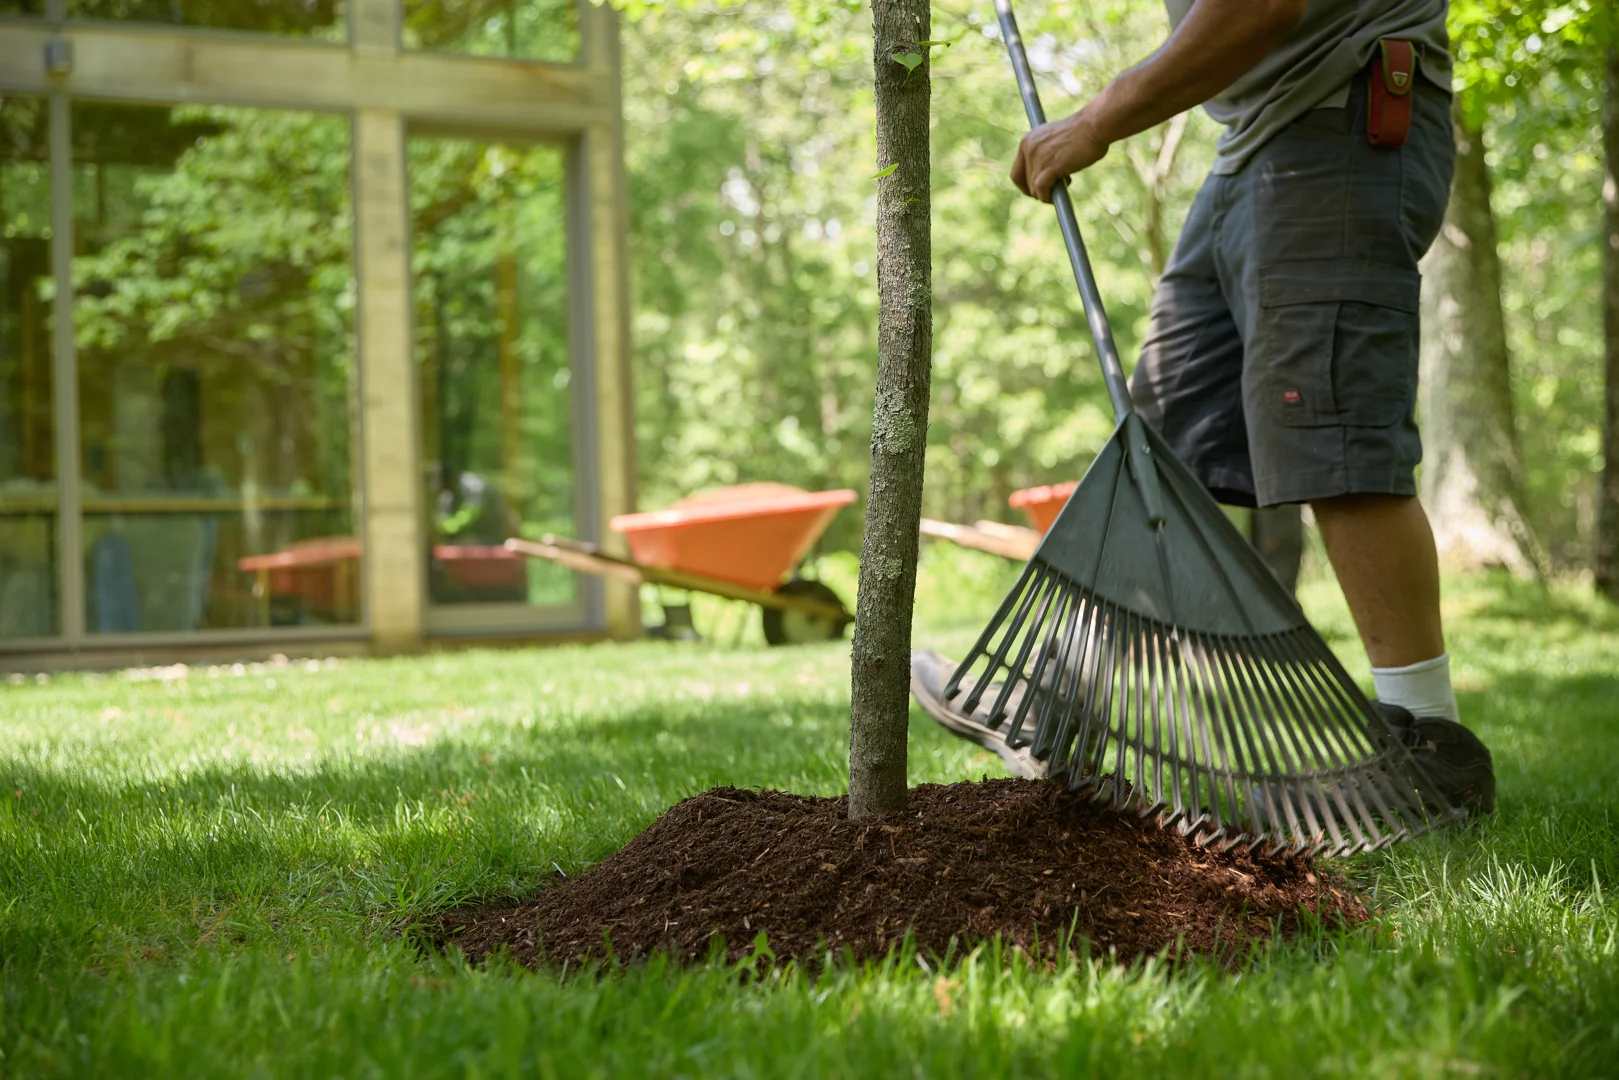
When we talk about mulch installation, it is easy to focus on the immediate “facelift” it gives a property. There is no denying that fresh, dark mulch makes the greens of your lawn and the colors of your perennials pop. However, as experts in lawn and landscape care, we know the real magic happens beneath the surface.
Properly installed mulch acts as a biological blanket for your soil. In our Rhode Island climate, soil can lose moisture rapidly during a hot July or freeze and thaw repeatedly in the winter, which stresses plant roots. Mulch provides critical insulation, keeping soil temperatures stable and preventing moisture from evaporating. Furthermore, bare soil is vulnerable; research shows it can lose up to five times as much sediment to erosion as mulched soil.
Beyond protection, organic mulch is a slow-release nutrient system. As materials like shredded bark decompose, they cycle essential nutrients back into the earth, improving soil structure and supporting beneficial microbes. For a deep dive into how this supports your greenery, check out this guide on how to mulch for a healthy yard and garden.
The Benefits of Professional Mulch Installation
While DIY mulching is a common weekend project, hiring a professional team offers advantages that go beyond just saving you from a sore back.
- Time Savings: A project that takes a homeowner two full days can often be completed by our crew in a few hours.
- Uniformity: Achieving a consistent 3-inch depth across a 2,000-square-foot area is harder than it looks. Professionals ensure even coverage that prevents “bald spots” where weeds can thrive.
- Material Selection: We help you choose the right texture and type for your specific plants—what works for a rose garden might not be ideal for a steep slope.
- Weed Suppression: By combining thorough site prep with the correct application depth, we provide a level of weed control that a quick “toss and spread” DIY job simply can’t match.
Organic vs. Inorganic Materials
Choosing your material is the first big decision. At Lawnscapes, we typically recommend organic options for most residential lawn and landscape care because of the soil health benefits.
- Shredded Bark & Wood Chips: These are the gold standard. They look natural, stay in place well, and improve the soil as they break down.
- Pine Needles (Pine Straw): Excellent for acid-loving plants like azaleas and rhododendrons, which are very common in Rhode Island.
- Stone & River Rock: These are “inorganic” because they don’t decompose. While they are great for drainage and don’t need to be replaced annually, they don’t feed the soil and can actually hold heat, which may stress some delicate plants.
- Rubber Mulch: Often used in play areas for safety, but rarely recommended for garden beds where plant health is the priority.
How the mulch gets into your beds is just as important as what type you use. Depending on the size of your property and the complexity of your gardens, we utilize different professional services to get the job done right.
Calculating Your Needs and Mulch Installation Costs
One of the biggest mistakes homeowners make is underestimating how much mulch they actually need. Buying by the bag is fine for a tiny flower box, but for a standard yard, bulk delivery is the way to go.
Estimating Material Volume
Mulch is measured in cubic yards. To find out how much you need, you first need to know the square footage of your beds and your desired depth.
The Standard Coverage Formula:
- 2 Inches Deep: 1 cubic yard covers ~162 sq. ft.
- 3 Inches Deep: 1 cubic yard covers ~108 sq. ft.
- 4 Inches Deep: 1 cubic yard covers ~81 sq. ft.
For most Rhode Island gardens, we aim for a 3-inch depth. This is the “sweet spot” that suppresses weeds and retains moisture without suffocating plant roots.
2026 Pricing Trends for Delivery and Labor
As of May 2026, pricing for mulch installation has remained relatively stable but reflects the rising costs of fuel and high-quality organic materials.
- Average Project Cost: Most homeowners spend between $500 and $1,800 for a professional visit.
- Labor Rates: Professional landscapers typically charge between $115 to $135 per cubic yard for installation, which includes labor and material
- Delivery Fees: There is no delivery fee!
- Pro Tip: Bundling your mulch installation with other landscape construction or spring cleanup services often leads to better overall rates.
Step-by-Step Best Practices for Proper Mulch Installation
If you decide to tackle this yourself, or if you want to know what to expect when you hire our professional landscaping services, here is the gold-standard process.
Preparing the Garden Bed
You can’t just throw mulch over a messy bed and expect good results. Preparation is 70% of the job.
- Debris Clearing: Remove fallen branches, trash, and large stones.
- Weed Removal: This is non-negotiable. You must pull weeds by the root. Mulch will slow new weeds, but it won’t kill established ones—they’ll just grow right through.
- Edge Definition: Use a flat spade or an edging tool to cut a 3-to-4-inch deep “V” trench between your lawn and your garden bed. This keeps the grass from creeping in and gives the mulch a professional, finished look.
- Soil Hydration: If the ground is bone-dry, give it a light watering before mulching. This helps trap the moisture in the soil.
- Utility Marking: If you are doing deep edging, make sure you know where your irrigation lines or invisible dog fences are located!
Step-by-Step Guide to Mulch Installation
Once the beds are prepped, follow these steps for a “pro” finish, as detailed in this guide on how to lay mulch in your yard like a pro:
- Distribution Piles: Instead of working from one giant pile, move mulch into small piles every 3-4 feet across the bed using a wheelbarrow.
- Even Spreading: Use a rake or gloved hands to spread the piles. Aim for a consistent 2-to-3-inch depth.
- Tapering: As you get close to the edges of the bed or the base of a plant, gradually thin out the mulch.
- The Final Touch: Lightly water the mulch after it’s spread. This “sets” the mulch, preventing it from blowing away in the wind and washing away during the first rain.
Common Mistakes to Avoid During Mulch Installation
Even with the best intentions, bad mulching can actually kill your plants. Here are the “red flags” we look for.
Avoiding the Mulch Volcano
This is the most common mistake in landscaping. A “mulch volcano” is when mulch is piled high against the trunk of a tree.
- Why it’s bad: It traps moisture against the bark, causing rot. It also encourages “girdling roots” that can eventually strangle the tree.
- The Fix: Always keep mulch 2 to 6 inches away from the trunk. You want to see the “root flare”—the part where the trunk widens as it meets the ground. Think of it as a “donut” shape, not a “volcano.”
Issues with Landscape Fabric and Plastic
Many people think landscape fabric is a “permanent” fix for weeds. In reality, it often causes more problems.
- Soil Compaction: Fabric prevents the soil from “breathing” and prevents organic mulch from decomposing into the soil.
- Weed Entanglement: Over time, dust and dirt settle on top of the fabric. Weeds grow on top of the fabric, and their roots knit into the mesh, making them nearly impossible to pull.
- The Better Way: Skip the plastic. Use a thick layer of organic mulch or a highly breathable, professional-grade barrier if absolutely necessary.
If you’re ready to give your landscape the treatment it deserves, we’re here to help with the highest quality standards in the industry. Contact us for a mulch installation quote today and let our team handle the heavy lifting while you enjoy the results.